



A Hand-Stitched Needle Book for Your Sewing Basket
Small Projects | September 10, 2026

Every sewing basket deserves a needle book. It is a small, folded fabric case with pages of felt or wool where you can park your needles, keeping them safe and easy to find. Making one by hand is a delightful project that uses tiny scraps and lets you practice your stitching. It also makes a thoughtful gift for a fellow sewist, especially when filled with a few new needles and a packet of threads.
The structure of a needle book is simple: two cover pieces, a few inner pages, and a closure. You can make it any size, but a good dimension is about four inches wide by five inches tall when closed. The covers can be made from a sturdy fabric like cotton canvas, linen, or wool. The inner pages are best made from felted wool or thick craft felt, which grips the needles and prevents them from slipping out. You can also use flannel or a dense cotton batting.
Designing Your Needle Book Cover
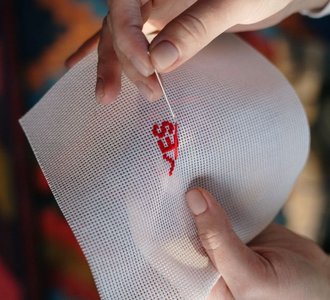
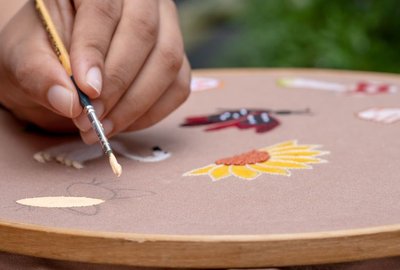
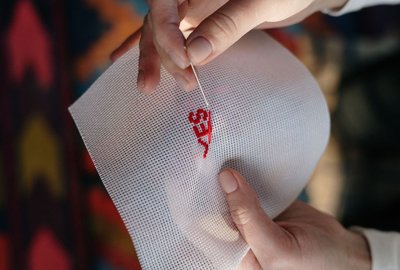
This is where you can let your vintage-inspired aesthetic shine. Think of the cover as a tiny canvas. You might embroider a single flower, a spool of thread, a pair of scissors, or a simple word like "needles" or "stitch." A monogram is always classic. You can also piece the cover from small scraps, creating a patchwork effect. If you are using a plain fabric, a bit of lace, a tiny button, or a ribbon trim can add charm.
Before you assemble the book, complete all your embroidery and embellishment on the front cover. This is much easier than trying to stitch on a finished book. If you are piecing the cover, sew the pieces together, press the seams, and then embroider over the seams or in the center of a patch. Use a hoop if needed, but for small covers, you can often hold the fabric in your hand. Keep the design simple and not too dense, so the cover remains flexible.
For the closure, you have several options. A simple ribbon tie is elegant and adjustable. A button with a fabric loop is also lovely. You can also use a snap or a piece of Velcro, but for a vintage look, a button and loop is hard to beat. If you use a button, sew it on after the book is assembled, making sure it goes through all the layers of the front cover only, not the pages.
Assembling the Pages and Cover
Cut your inner pages from felt or wool. You will need two to four pages, depending on how many needles you want to store. Each page should be slightly smaller than the cover, about a quarter inch smaller on all sides. Stack the pages together and stitch down the center to create a spine. You can use a simple running stitch or a three-hole pamphlet stitch. If you want the pages to be removable, you can punch holes and use a ribbon to tie them in place.
To assemble, place the front cover right side up. Place the stack of pages on top, centered. Then place the back cover right side down on top of the pages. Sew around the edges, leaving a small opening for turning. Clip the corners, turn the book right side out, and press. Slip stitch the opening closed. If you want a spine, you can sew a line of stitching down the center through all layers, but this will secure the pages permanently. If you prefer removable pages, skip this step and rely on the ribbon or a few stitches at the spine.
Fill your needle book with needles, and tuck it into your sewing basket. It will keep your needles tidy and bring a smile every time you open it. The best part is that it takes only an evening to make, and you can use the tiniest scraps of fabric and felt. Make one for yourself and one for a friend, and enjoy the quiet satisfaction of a handmade tool that makes your sewing time even sweeter.


Bobbin And Bell

Combine simple hand stitches and treasured fabric scraps to make a cozy that keeps your teapot warm in style.