
Embroidery on Wool: A Cozy Winter Scarf Project
Embroidery | September 16, 2026

Wool is one of the most forgiving and rewarding fabrics to embroider. Its soft, slightly fuzzy surface holds stitches beautifully, and it has a warmth that feels like a hug. When you find a plain wool scarf at a thrift store or in your own wardrobe, it is a blank canvas waiting for a little attention. This project is about adding a simple, vintage-inspired embroidery design to a scarf, turning a basic item into something you will reach for every cold day.
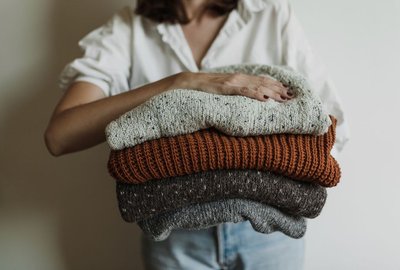
Start by choosing a scarf. A lightweight wool or wool blend works best, as heavy coating wool can be difficult to needle. Look for a scarf in a solid color—cream, camel, charcoal, or deep burgundy are all lovely. If the scarf is scratchy, you can line it with a soft cotton or flannel before embroidering, but often a good soak in wool wash and a little conditioner will soften it. Press it gently with steam to remove wrinkles, but do not iron directly on the wool if it is prone to shining.
Designing and Transferring Your Motif
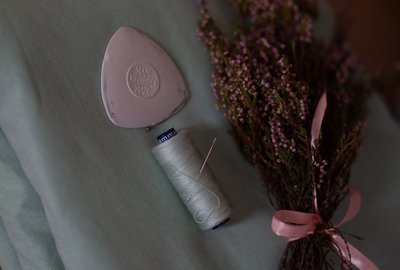
For a vintage feel, think of simple botanical motifs: a curving vine with small leaves, a scattering of tiny flowers, or a single stem of lavender. You can draw your design directly on the scarf with a water-soluble fabric pen, or use a tear-away stabilizer. If you are not confident drawing freehand, find a vintage embroidery pattern or a simple coloring book page and trace it. Keep the design open and airy. A dense, heavy design can make the scarf stiff, while a light, scattered motif lets the wool remain soft and drapey.
Place your design along one or both ends of the scarf, or run a vine along the entire length. If the scarf is long, you might choose to embroider only the ends, where the design will be seen when the scarf is wrapped. Consider the scale: small stitches and delicate motifs suit a fine wool, while a chunkier scarf can handle bolder lines and larger flowers. Test your stitches on a scrap of similar wool first to see how the thread behaves and whether you need a stabilizer.
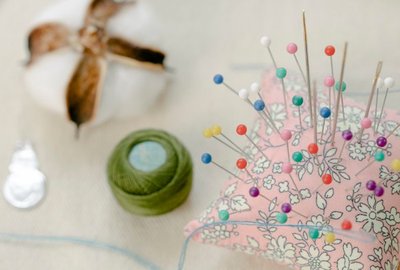
Thread choice matters. Wool thread, silk, or cotton floss all work well. Wool thread blends beautifully with the scarf and gives a matte, traditional look. Silk adds a subtle sheen. Cotton floss is easy to find and comes in every color. Use a needle with a sharp point, like an embroidery needle, and avoid pulling too tightly, as this can pucker the wool. Let your stitches sit gently on the surface.
Stitches That Shine on Wool
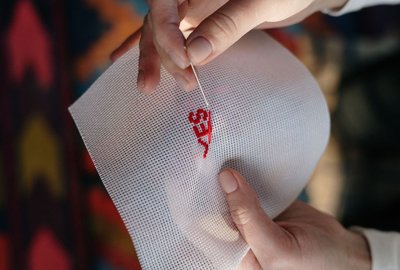
Several stitches are particularly lovely on wool. The stem stitch makes graceful vines. The lazy daisy stitch creates simple leaves and petals. French knots add texture and tiny flower centers. For filling larger shapes, the satin stitch can be tricky on wool because it can compress the fibers, so consider using a long-and-short stitch or a seed stitch instead. A chain stitch is wonderful for outlines and adds a nice, slightly raised texture.
As you stitch, work in small sections and keep the scarf relaxed in your lap or on a table. Do not stretch it over a hoop if the wool is delicate; instead, use a gentle hand and let the fabric move naturally. Once your embroidery is complete, press the scarf from the wrong side with a warm iron and a pressing cloth. If you used a water-soluble pen, dab it away with a damp cloth. Wear your scarf with pride, and enjoy the little moments of beauty you stitched into it.


Bobbin And Bell

Turn an old pair of jeans into a sturdy little pouch, then embellish it with nostalgic embroidery motifs.