


Upcycled Denim Pouch with Vintage Embroidery
Upcycling | September 13, 2026
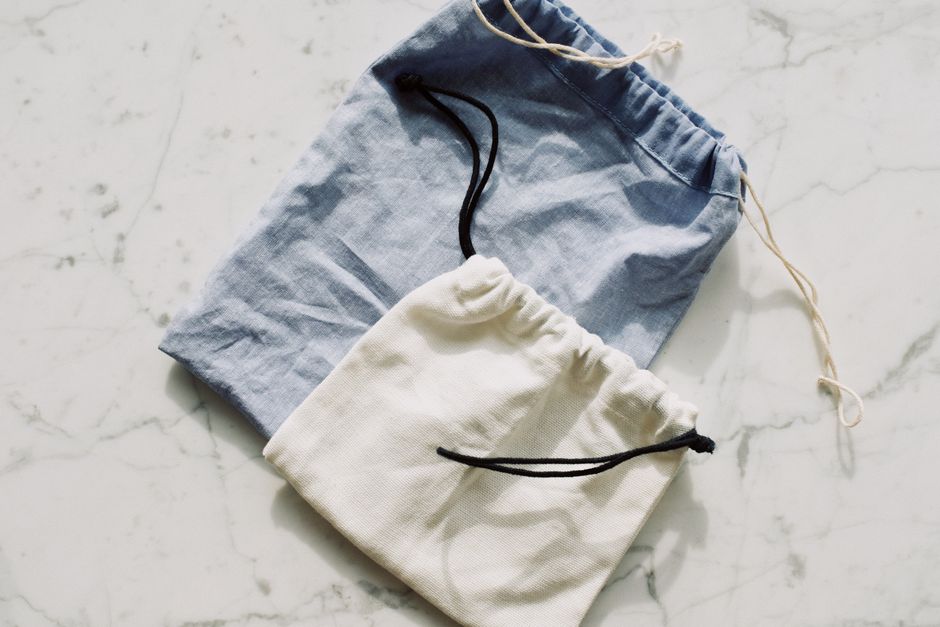
Old jeans are a treasure for sewists. The denim is durable, the color is rich, and the worn spots tell a story. Instead of tossing a pair that has seen better days, you can cut them into a simple zippered pouch and add a touch of vintage embroidery. The result is a practical, charming holder for sewing notions, makeup, or small treasures. It is also a wonderful way to practice embroidery on a sturdy fabric that does not require a hoop.
Begin by choosing a pair of jeans. Look for areas of the leg that are relatively free of seams and heavy wear. Cut two rectangles for the pouch body. A good size is about eight inches wide by six inches tall, but you can adjust to your liking. If the denim is very thick, you might want to use a single layer for the front and line the back with a lighter cotton. For a softer pouch, consider using the inside of the jeans, which has a lovely, lighter color and a smooth surface.
Preparing the Denim and Planning Your Embroidery
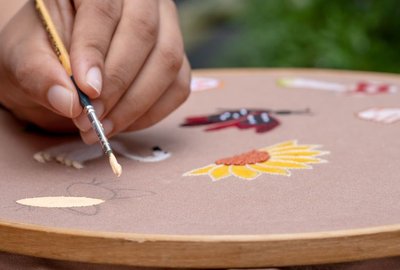
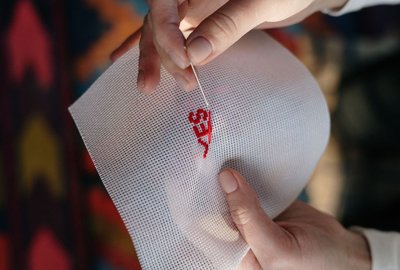
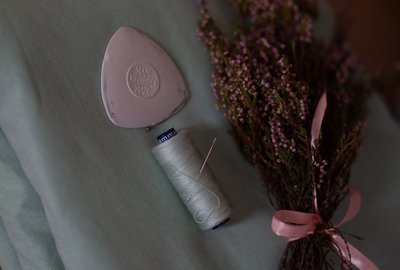
Denim can be stiff, so give it a wash and a tumble dry to soften it before you begin. Press it flat. If you are using a section with a hem or a seam, incorporate it into the design—maybe let the hem become the top edge of a pocket, or use a side seam as a design feature. For the embroidery, think of vintage motifs that suit denim: a simple floral sprig, a tiny bee, a heart, or a classic monogram. You can draw the design with a white or silver fabric pencil, which shows up well on dark denim.
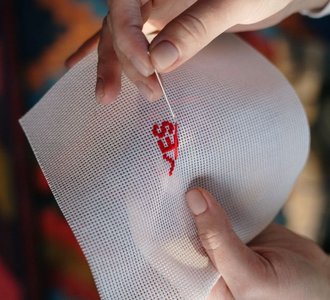
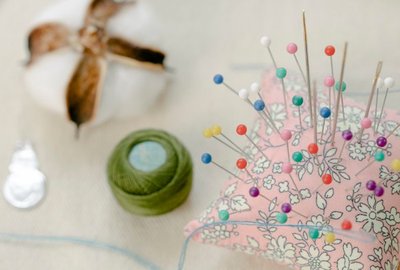
Because denim is thick, you do not need a hoop, but you might want a small one to keep the fabric taut if you are working on a large area. Use a sturdy needle, such as an embroidery or denim needle, and a thimble to help push through the layers. Thread can be cotton floss, perle cotton, or even thin yarn. If you want a folk-art look, use perle cotton in a contrasting color like white, ecru, or a bright red. The stitches will sit on top of the denim and stand out beautifully.
Consider adding a patch or a piece of vintage lace to the denim before you embroider. A small scrap of floral fabric can be appliqued in place with a blanket stitch, and then you can embroider around it. This adds texture and a sense of history. If you are using a piece of clothing that has a special memory, like a child's outgrown jeans, you might even embroider a date or a name inside the pouch as a hidden keepsake.
Sewing the Pouch Together
Once your embroidery is complete, it is time to assemble the pouch. If you want a lining, cut two pieces of cotton fabric the same size as your denim pieces. Place the denim and lining right sides together for each side, sew along the top edge, and turn. Then place the two sides right sides together, making sure the embroidery faces inward, and sew around the sides and bottom. Leave a small opening at the bottom for turning if you are lining it. Clip the corners, turn it right side out, and press.
For the zipper, you can install it before sewing the sides, or use a simpler approach: fold the top edges inward and stitch the zipper in place by hand or machine. A hand-sewn zipper adds to the vintage feel and is quite forgiving. If you prefer no zipper, you can make a flap with a button and a loop. Finish by adding a small ribbon or a vintage button to the zipper pull. This pouch is a small project, but it carries the weight of your care and creativity. It is a lovely way to give new life to old denim and to practice your embroidery at the same time.


Bobbin And Bell
Keep your needles organized and pretty with a felt or fabric needle book that folds up like a little book.