



Slow Stitching a Vintage-Inspired Tea Cozy
Embroidery | September 7, 2026
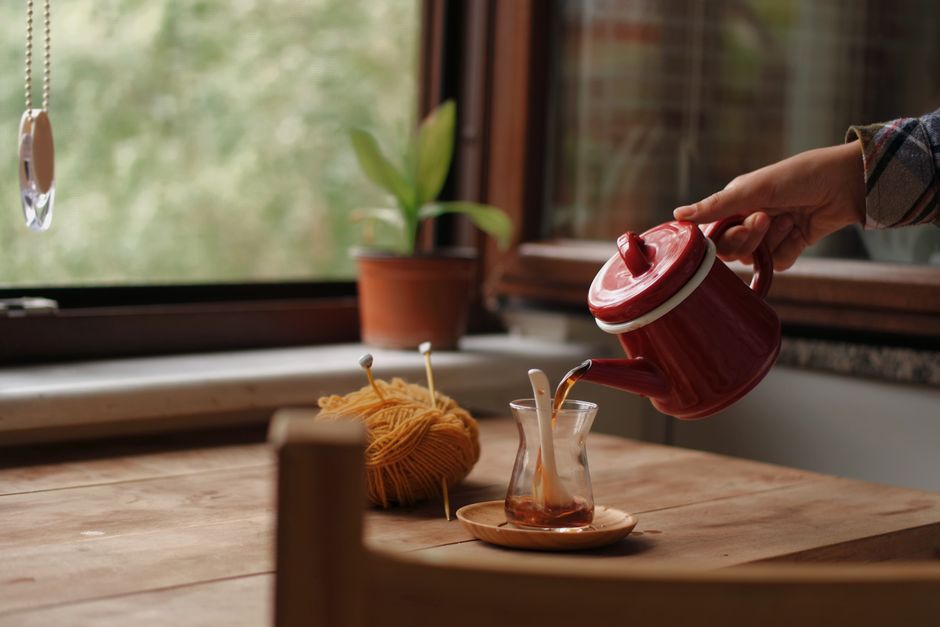
A tea cozy is one of those humble objects that brings a surprising amount of joy. It keeps your pot of tea warm through a long conversation, and it sits on the table like a little piece of textile art. Making one by hand, with slow stitching and vintage-inspired fabrics, is a meditative project that can be as simple or as elaborate as you like. The best part is that you do not need a fancy pattern; you can trace around your teapot and go from there.
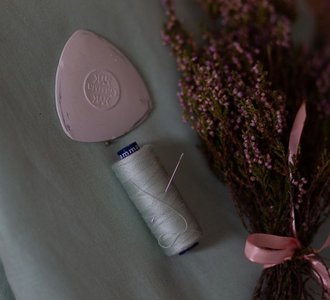
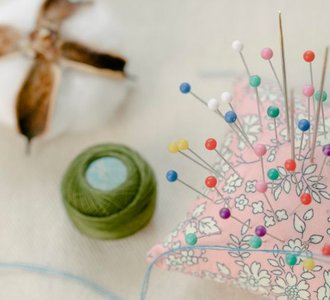
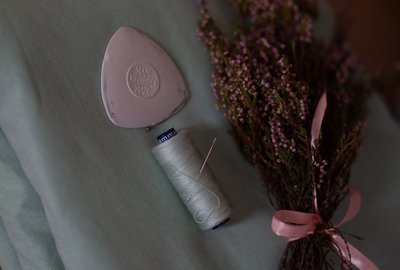
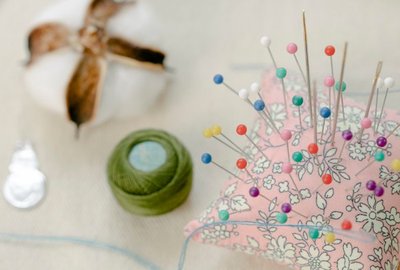
Start by choosing your fabrics. A tea cozy looks lovely in wool, linen, or a sturdy cotton. You can use a single fabric for the outside, or piece together scraps in a patchwork design. For the lining, choose a cotton or flannel that will insulate the pot. If you want a vintage feel, look for floral prints, ticking stripes, or soft, faded colors. Do not be afraid to mix patterns—a tiny calico with a larger floral can be charming. Just keep the palette cohesive, perhaps with cream, rose, sage, and a touch of gold.
Creating the Shape and Adding Stitches
To make the cozy, measure your teapot. You want a shape that covers the pot from the base to the top of the lid, with a little room to spare. A simple dome shape works for most round teapots. You can draw a half-circle on paper, using the height of the pot as the radius, and then add a seam allowance. Cut two pieces for the outside and two for the lining. If you want a loop on top, cut a small strip of fabric and fold it into a loop.
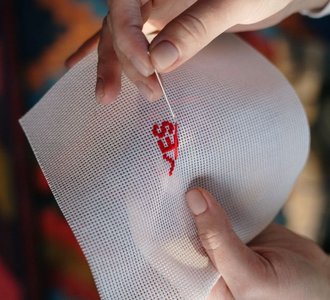
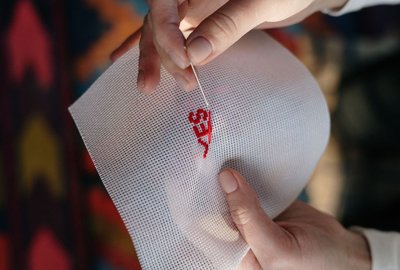
Before you sew the pieces together, this is your chance to slow stitch. You can embroider directly onto the front piece. Think of simple motifs: a scattering of French knots that look like tiny flowers, a vine of stem stitches along the bottom edge, or a few lazy daisy leaves. You can also piece the front from scraps and then stitch over the seams with a decorative running stitch or a blanket stitch. If you have a piece of vintage lace or a doily, applique it to the front with tiny stitches. The goal is not perfection but the pleasure of making.
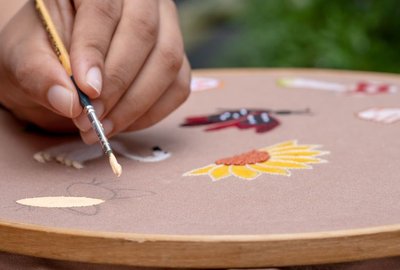
Use a hoop if you are embroidering a large area, but for small motifs, you can work without one. Choose threads that complement your fabrics: cotton floss, perle cotton, or silk. A contrasting thread, like a deep red on cream, adds a folk-art feel. Keep your stitches relaxed and even, and do not worry if they are not identical. The handmade quality is part of the charm.
Sewing and Finishing the Cozy
Once your embellishment is complete, place the two outer pieces right sides together and sew around the curved edge, leaving the bottom open. Do the same for the lining, but leave a small opening in the bottom for turning. If you are adding a loop, baste it to the top of the outer cozy before sewing. Clip the curves, turn the outer cozy right side out, and press. Then slip the lining inside the outer cozy, wrong sides together, and stitch around the bottom edge to secure them. You can also sew a bias tape or a folded strip of fabric around the bottom for a clean finish.
Slide the cozy over your teapot and admire your work. It will keep your tea warm and make every cup feel a little more special. This project is perfect for using up small scraps and for practicing your hand-stitching. You can make a cozy for every season, changing the fabrics and motifs to match your mood. It is a slow, satisfying make that brings warmth to your home and to your heart.


Bobbin And Bell

Ease into hand embroidery with a gentle, unhurried project that's perfect for a quiet evening by the lamp.