


The Joy of Hand-Piecing a Patchwork Pincushion
Small Projects | September 19, 2026
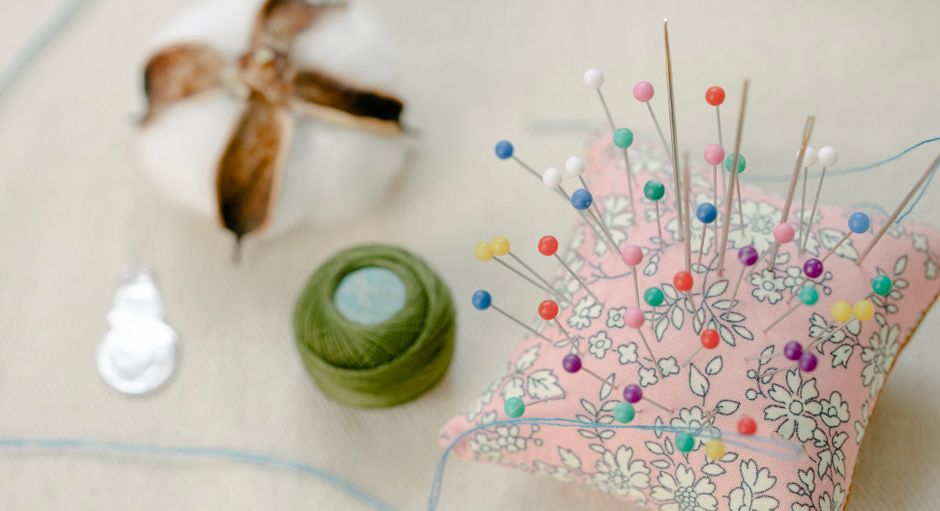
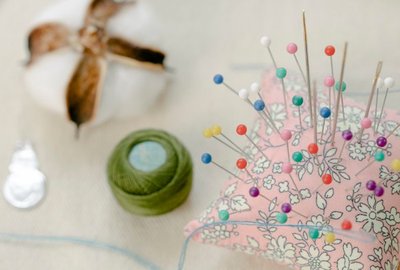
There is something deeply comforting about a pincushion. It sits quietly beside your machine or on the arm of your favorite chair, holding your pins like a little hedgehog of fabric and thread. Making one by hand, piecing together tiny squares or triangles, is the kind of project that fits into a quiet afternoon or a series of evenings. It asks nothing of you but a needle, some thread, and a handful of scraps you cannot bear to throw away.
For this project, you do not need a pattern. You need a little geometry and a willingness to let the seams be slightly imperfect. A classic pincushion is about four inches square when finished, which means your pieced top should be roughly four and a half inches square before sewing. You can use two-and-a-half-inch squares, half-square triangles, or even a simple nine-patch. The scale is small, so the piecing goes quickly, but the reward is a finished object that feels both useful and beautiful.
Choosing Fabrics and Threads
This is a wonderful way to use up small scraps from previous projects. Think of the fabrics you love: faded florals, tiny ginghams, old-fashioned calicoes, and soft linen. A vintage-inspired palette might include dusty rose, sage green, cream, and a touch of mustard or brick red. Because the pieces are so small, busy prints can read as texture rather than pattern, so do not be afraid to mix them. If you want a calmer look, choose a few solids or low-volume prints to balance the busy ones.
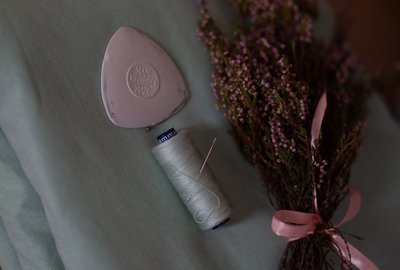
For thread, a fine cotton or silk thread in a neutral color works well. If you want your stitches to be part of the design, use a contrasting thread and make them visible. Hand-piecing with a running stitch is traditional, but you can also use a backstitch for extra strength. A small needle, size 10 or 11, will glide through the fabric without leaving large holes. Beeswax or thread conditioner can help prevent tangles, especially if you are using a longer piece of thread.
As you sew, press your seams carefully. A small iron or a finger-pressing tool works well. Pressing as you go makes the piecing lie flat and makes the final assembly much easier. Do not worry if your squares are not perfectly aligned. The charm of a handmade pincushion is in its slight irregularities. Once it is filled and stuffed, those tiny wobbles disappear into the overall texture.
Finishing and Filling Your Pincushion
Once your pieced top is complete, cut a backing piece the same size. Place the two pieces right sides together and sew around the edges, leaving a small opening for turning. Clip the corners, turn it right side out, and press again. Now comes the fun part: filling it. You can use polyester fiberfill, but for a heavier, more vintage feel, try crushed walnut shells or fine sand. These give the pincushion a nice weight and help keep your pins sharp. If you use sand, place it inside a small plastic bag or a tightly woven fabric pouch before stuffing it into the cushion, so it does not sift out through the seams.
Stitch the opening closed with a ladder stitch, and then add a little embellishment if you like. A few embroidery stitches along the seams, a tiny button in the center, or a ribbon rose can make it feel extra special. You can also add a loop of ribbon or twill tape to the back so it can hang from your sewing machine or a hook. This pincushion is small enough to make in an afternoon, but it holds hours of quiet pleasure. Make one for yourself, and then make another for a friend who sews. It is the kind of gift that says you understand the joy of small, handmade things.


Bobbin And Bell

Add delicate floral vines and simple stitches to a plain wool scarf for a one-of-a-kind winter accessory.